You deserve a treat!

It’s halfway through the week and that means you’ve earned a treat! Remember that 4th of July cake we whipped up (checkout the previous blog post), well I still have fresh fruit and that means I have an excuse to make a delicious dip for that fresh fruit. Let’s get started!

This sweet dip is super light and compliments fresh fruit. If you want to be decadent, go ahead and macerate the fruit. Gather the ingredients as follows:

  1. 1-2 pounds fresh fruit of your choice
  2. 1 pint heavy whipping cream
  3. 1 package instant vanilla pudding. If you have more of a sweet tooth ditch the pudding mix and reach for 1/2 Cup powdered sugar and 1 teaspoon vanilla extract.
  4. Electric mixer.

Put the pudding mix in a bowl followed by the whipping cream and get whipping until the mixture is stiff. THAT’S IT! If you chose the sweet tooth route: add the powdered sugar followed by the whipping cream and vanilla, then whip until stiff.

Let me know in the comments below which recipe you chose and what fruit you paired this delicious dip with. My personal favorite is strawberries and blueberries but my teenager loves our homegrown peaches sprinkled with cinnamon on top.

I hope this helps get you through the rest of the week. Come back this weekend so we can get creative together.

🙂 Sewmuchglitter

Mid-Week Pick me up

I hope you find yourself well. Since this post is a mid-week pick me up, it will be a shorter version of what you have to look forward to at the end of your week. Let’s slim it down.

Slim line cards are getting attention in the card making world. Just like the A2 card bases I have discussed (if you haven’t seen my previous posts go check them out), a slim line card needs to be sturdy so I choose at least a 100 lb card stock in a color of your choice (Joann’s has great card stock for a base). The fun thing about creating a slim line card is that they fit in a standard #10 business sized envelope and require NO additional postage.

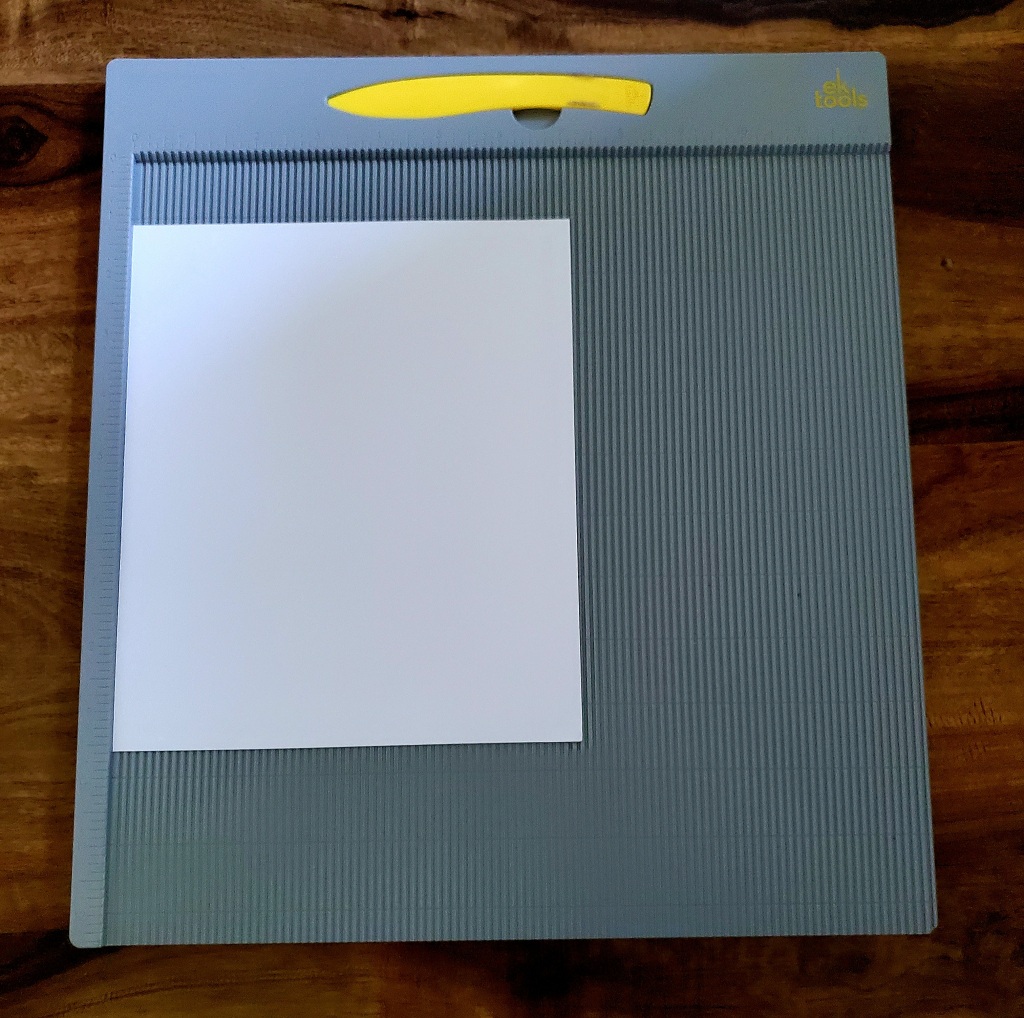
Start out with an 8 1/2 x 11 inch piece of card stock, trim it down to 8 1/2 x 7. Now it’s time to get out your score board and bone folder. There are several brands and it’s all about personal preference. I use an EK Tools board, which comes with a bone folder. I got this at Hobby Lobby (use your coupon!) I prefer my Amazon.com bone folder as it is softer, so there is less risk of cutting my paper (always score at an angle). OK, let’s score this!

Lay the trimmed paper on your score board with the 7″ side at the top, score it at 3.5″, fold on the score line and you’ve got your slim line card base. It’s that easy! My tip for you is: leave some space between your paper and the top of your score board because you will stay within the groove of your scoring measurement.

Slim line card base

I hope you enjoyed this quick mid-week pick me up. Come back Sunday so we can create a front for this slim line card base.

Enjoy the rest of your week! Check out @sewmuchglitter on Instagram/Facebook/Pinterest to see what’s going on. If you are inspired by anything you see, tag me #sewmuchglitter on your social media. Together we can inspire others!

Subscribe and come back soon!