Welcome back! In my last post I said I’d be back soon with my favorite blending tools, so let’s get started!
First off, there is no right or wrong blending tool. There is a better technique but tools are a personal preference. Use what you’re comfortable with and use what gets you your most desired results. The market is overwhelmed with crafting products and I admit that I also fall prey to buying the latest and greatest.
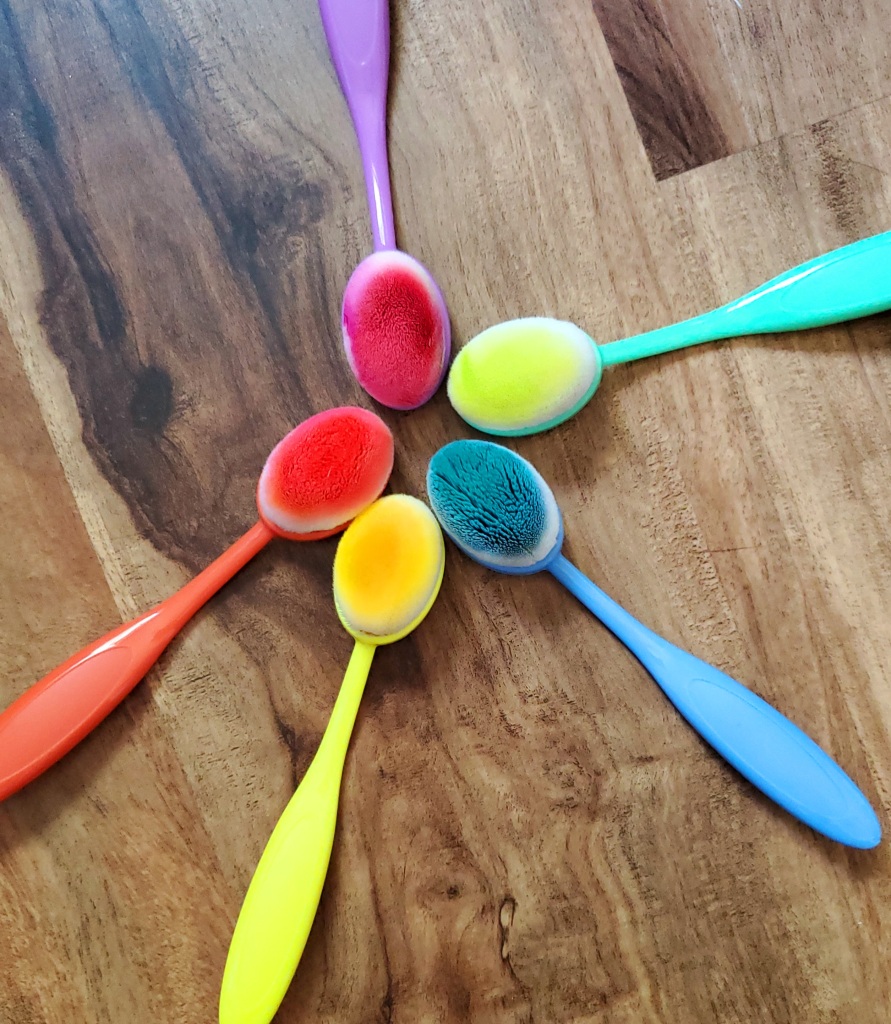
My most preferred blending tool is a blending brush. As you can see, mine are color coordinating. Using similar colors on brushes helps with ease of use and cleaning (or lack of cleaning). The brushes give me the smoothest blends and can fade as desired. These bristles hold color well and clean off well. Their soft providing a smooth blend. I got mine on Amazon.com and they were inexpensive (under $15), not bad for repetitive use.
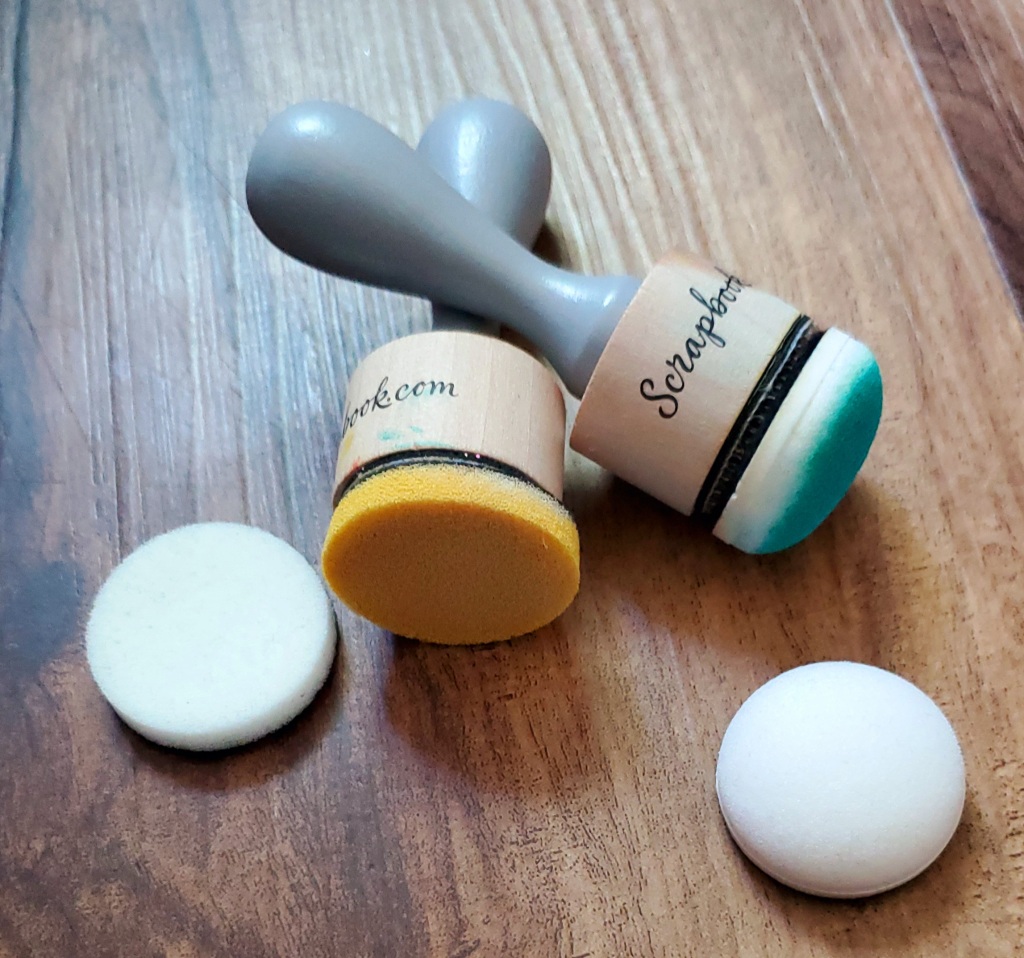
Next up there’s a blending tool with foam Velcro (on the back) heads. I have a flat attachment and a rounded attachment. Both are for the same purpose but from different companies expecting different results. I find the flat head to leave a harsher line but I’ll discuss techniques later. These are foam and need more ink to get a fuller blend. They do serve a great purpose on smaller projects. The rounded attachment is also a foam but not as porous as they seem to have a slicker surface. These blend over my papers more smoothly than the flat heads. I still find myself reaching for more ink mid project and I DO NOT with the brushes mentioned above. I still use these in color families. The blending handles can be purchased at any major crafting store or my personal favorite, Scrapbook.com. The flat foam attachments can be purchased with multiples in a pack at your local craft store or the rounded attachments at Scrapbook.com as they are a Scrapbook.com exclusive. Both have great price points and both clean well. Let’s talk technique!
Techniques. Start off the project 1st to avoid harsh lines. Remember I prefer a glass mat or a craft mat for easy cleaning. Next, I start small. DO NOT BLEND LARGE AREAS AT ONE TIME. You’ll never get the results you want. Once you get a smaller blend, move out to larger areas. Before you know it, you’ll have a fully blended project! I learned this the hard way and gathered my inspiration from Tim Holtz and experience. Don’t stop here, there’s more!
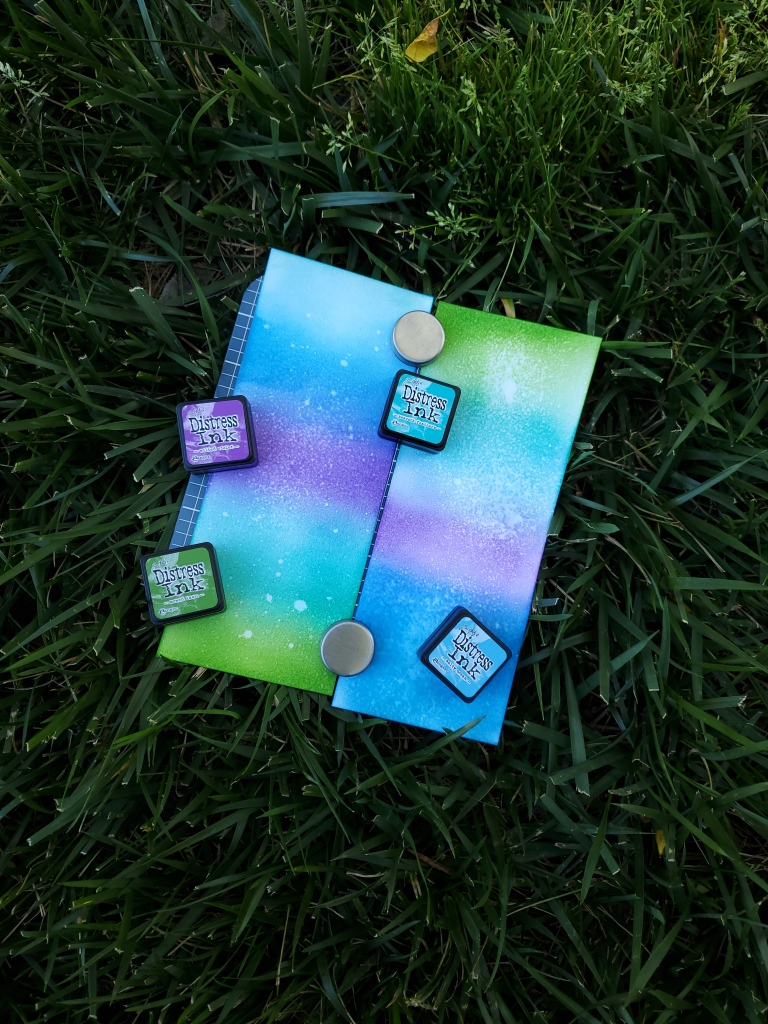
Color coordinating. As I stated in a previous blog post, I use Distress Oxide and Distress Inks. I stated the formula difference in simple terms. Go check out my blending post. I use Distress Oxide and my other inks aka. Other brands, with the same tools. Clean in-between by simply rubbing on a paper towel or baby wipe. TA-DA cleaned! May be stained but won’t contaminant each other. Remember Oxide is a hybrid. Now, my Distress inks are a little different. I only use specific tools on that formula (not hybrid) they can get contaminated. For the purpose of cost, I use my Velcro heads for this. I’ll show you how I store them in another storage post coming up. Subscribe so you don’t miss that!
I hope this helped inspire you and answered any follow-up questions you may have had since my last post. DON’T FORGET to check out my other forms of social media: Facebook/Instagram/Pinterest @sewmuchglitter Let me know you were there and what you would like to see more of. If you are inspired by any of my projects or techniques please tag me on your social media #sewmuchglitter
Don’t miss out and subscribe to my blog. You’ll be notified of new posts, which could contain great inspiration and ideas for your creative side. Leave me a comment and let me know which blending tools you prefer.
SEE YOU SOON!

